
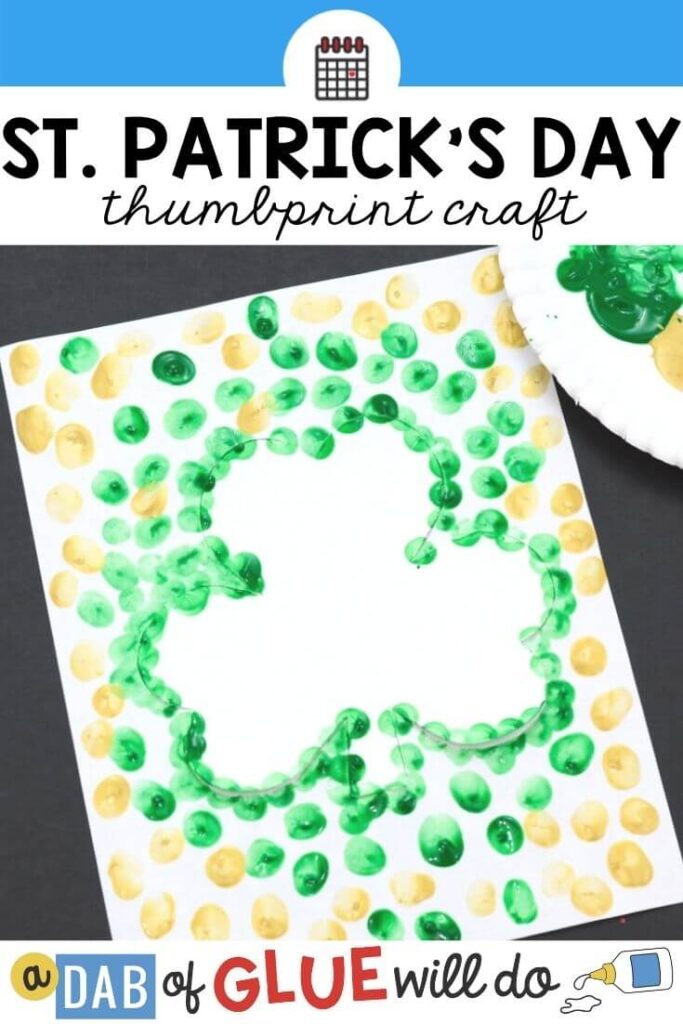
Try this St. Patrick’s Day Decorations for Kids craft during the month of March or as a Saint Patrick’s Day Craft. Use a simple shamrock shape to create a silhouette with thumbprints for a fun and festive sensory craft to do at home or in the classroom!
There are so many ways to get crafty for St. Patrick’s Day like this Rainbow Pot of Gold Handprint craft. We also find ways to bring St. Patrick’s Day and literacy together. We play St. Patrick’s Day CVC puzzles and show what we know with these St. Patrick’s Day Blend Match-up Activities.
If you love fun crafts be sure to look at our year-long craft and writing prompts endless bundle.
Materials Needed for the St. Patrick’s Day Decorations for Kids:
- White paper
- Shamrock Template printed onto cardstock (see below)
- Scissors
- Masking tape
- Green Paint
You may also consider using gold paint or a rainbow of colors!
Getting the St. Patrick’s Day Decorations for Kids Ready:
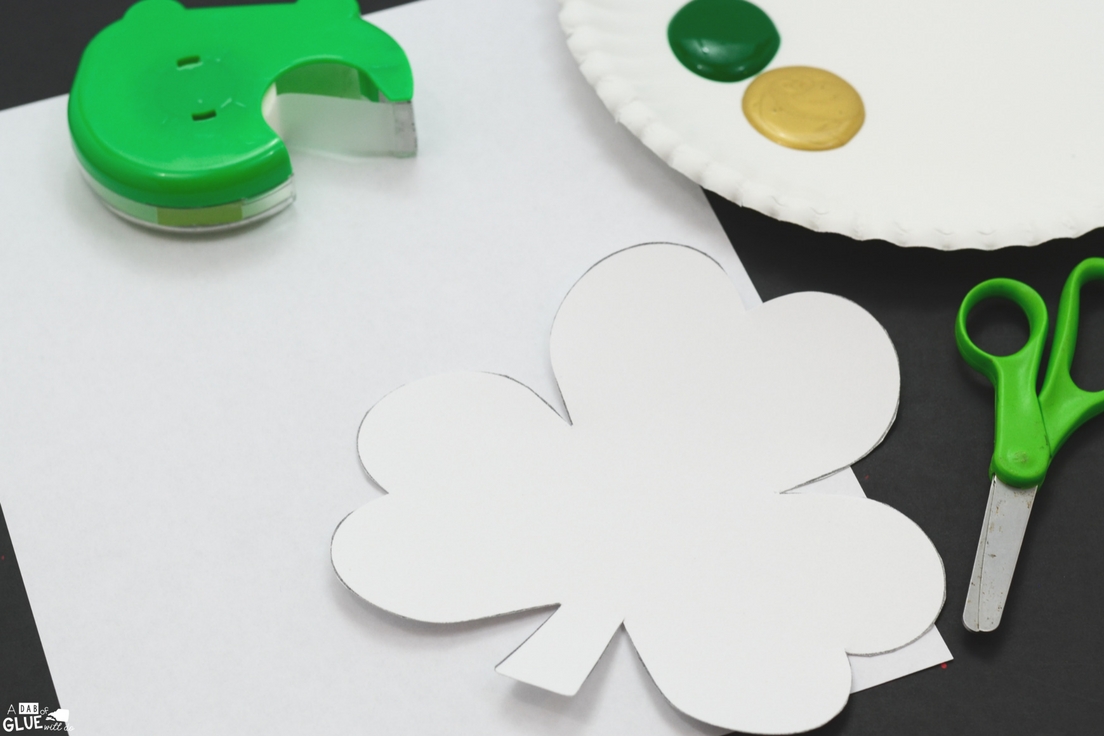
To prepare for this Saint Patrick’s Day Shamrock Craft, I first printed the shamrock template.
After printing, I cut it out. I kept it white as is, but you may want to trace it onto colored cardstock so there is more of a contrast between the shamrock and the background while the kids make their thumbprints.
I also prepared the paint by putting small amounts of each color onto the plate. You can keep it simple and use green, add some gold, or even do a rainbow of colors.
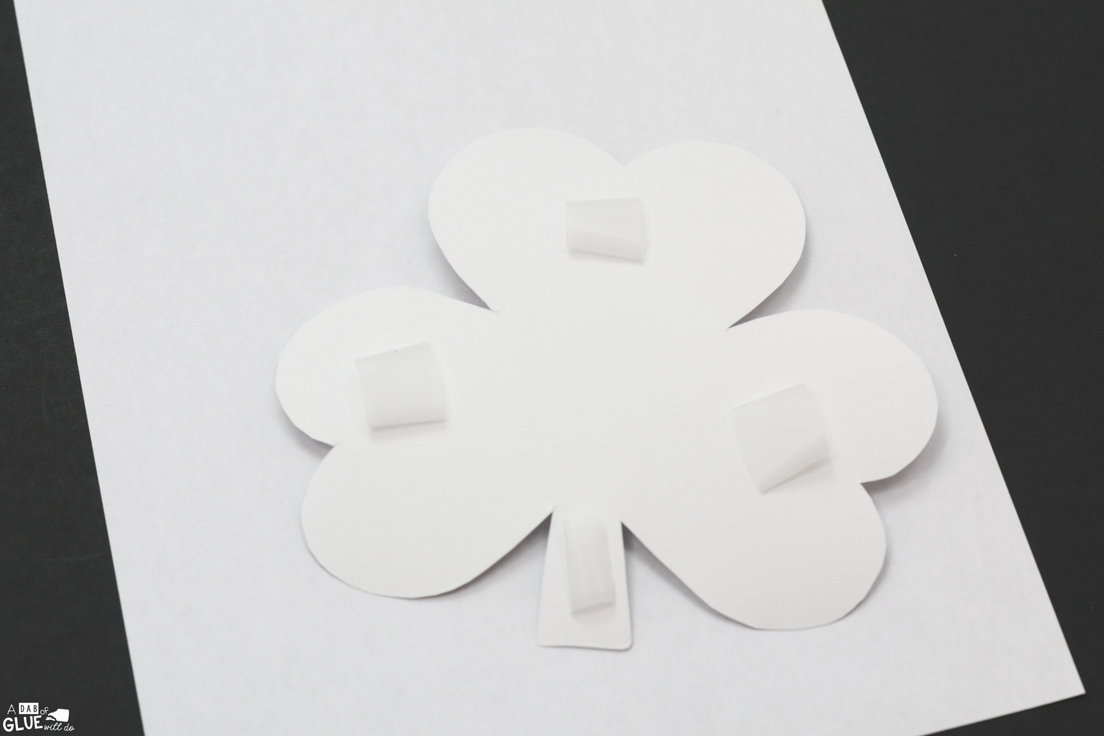
It is also helpful to roll up some tape to have it ready to use for attaching the shamrock to the paper.
Doing the St. Patrick’s Day Decorations for Kids:
The student will start by taping the prepared shamrock where they would like it onto the white background paper.
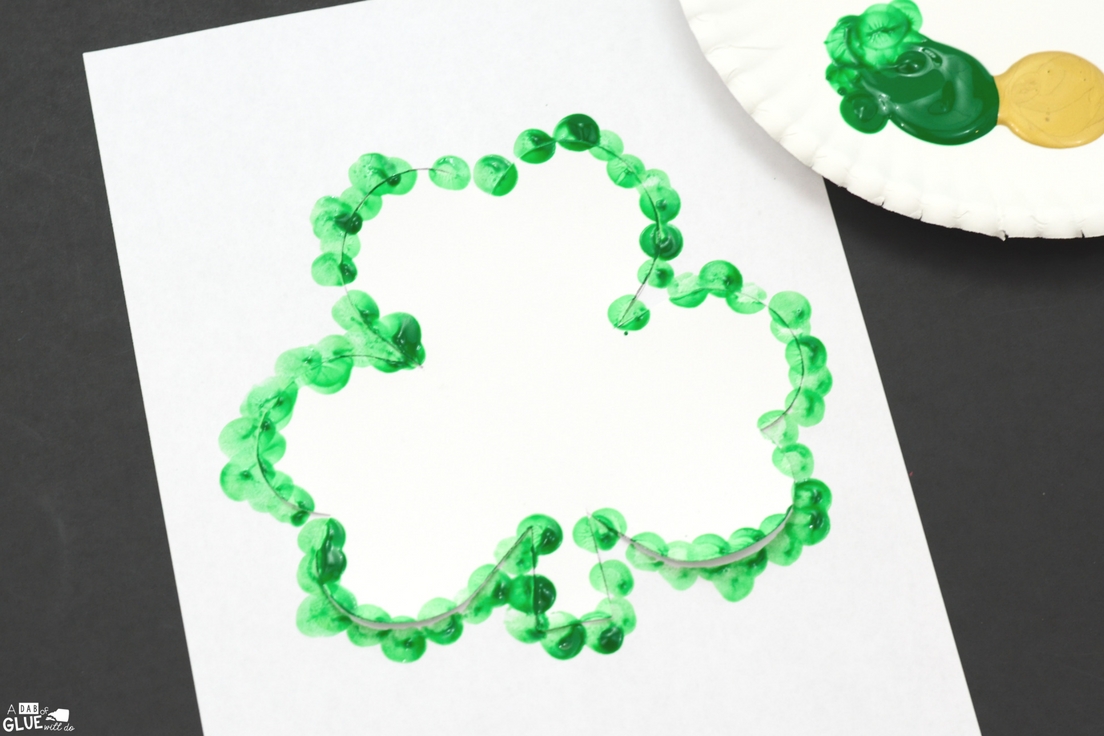
Now it’s time to make thumbprints! Dip a thumb into the paint and begin baking thumbprints all along the outside edge of the shamrock shape, overlapping the template just a little bit. Be sure to make the thumbprints close together for this part.
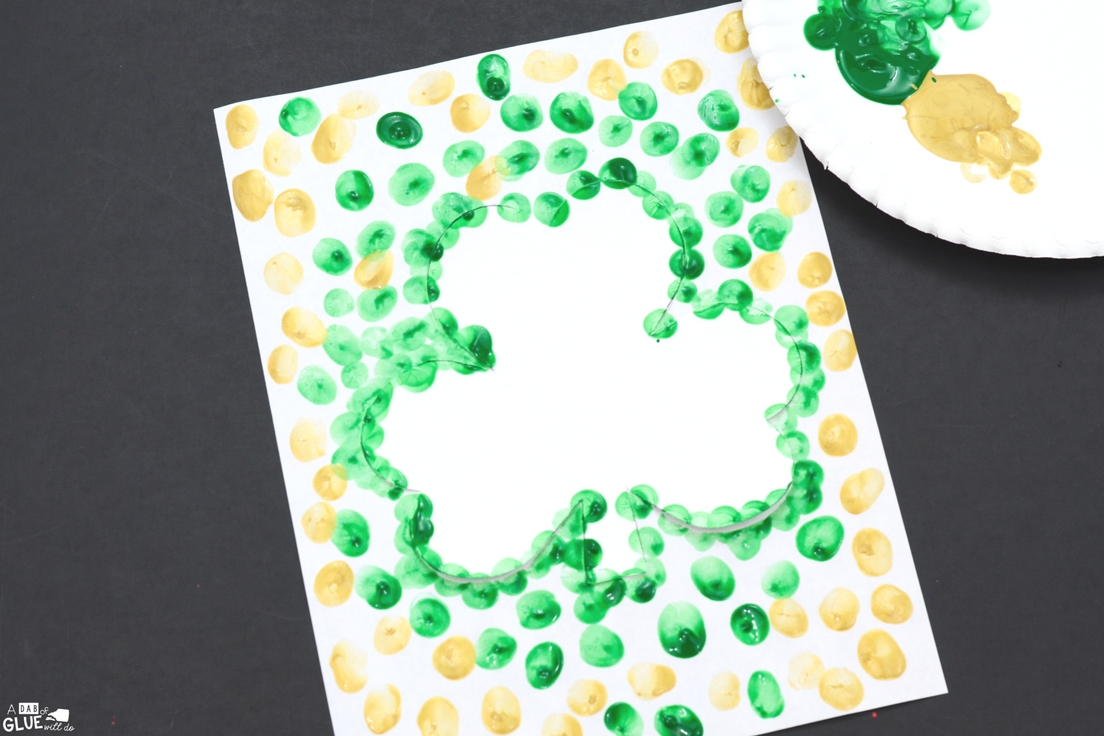
After the shape is outlined with thumbprints, it’s time to make prints all around the rest of the paper. Continue making thumbprints all the way to the edge of the paper, as close or as far apart as you’d like.
Before moving on, it’s best to let the thumbprints dry completely.
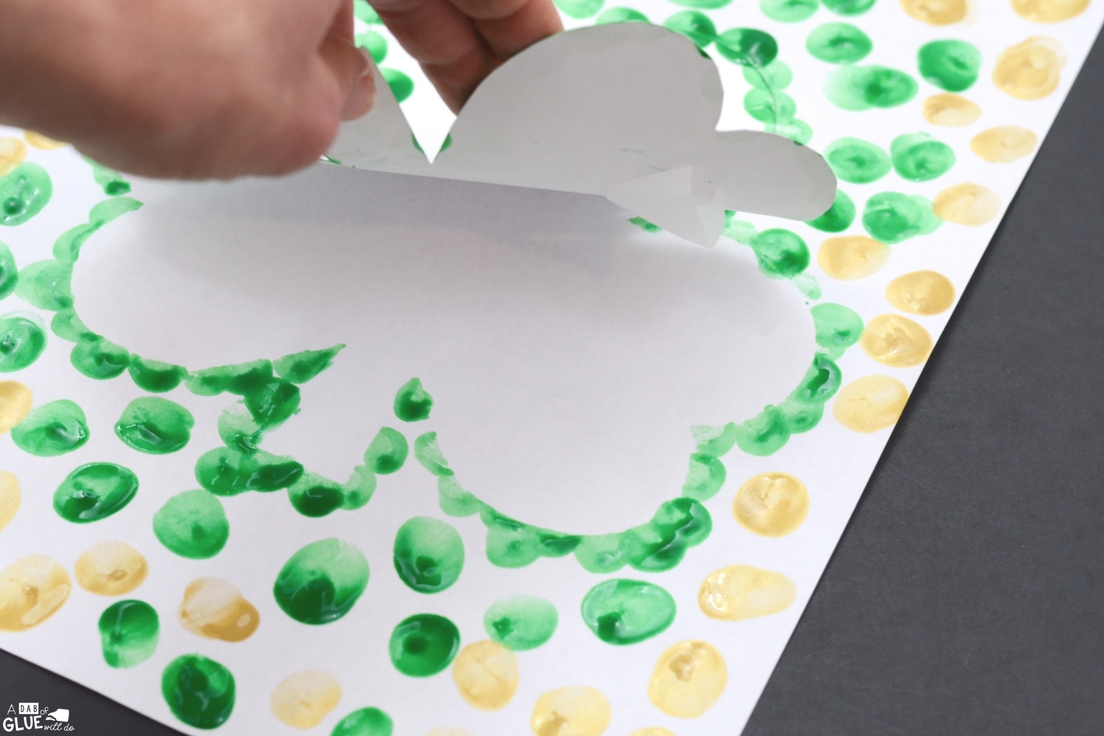
Now it’s time to peel up the shamrock shape. Do this slowly and carefully. Now your shamrock silhouette is revealed.
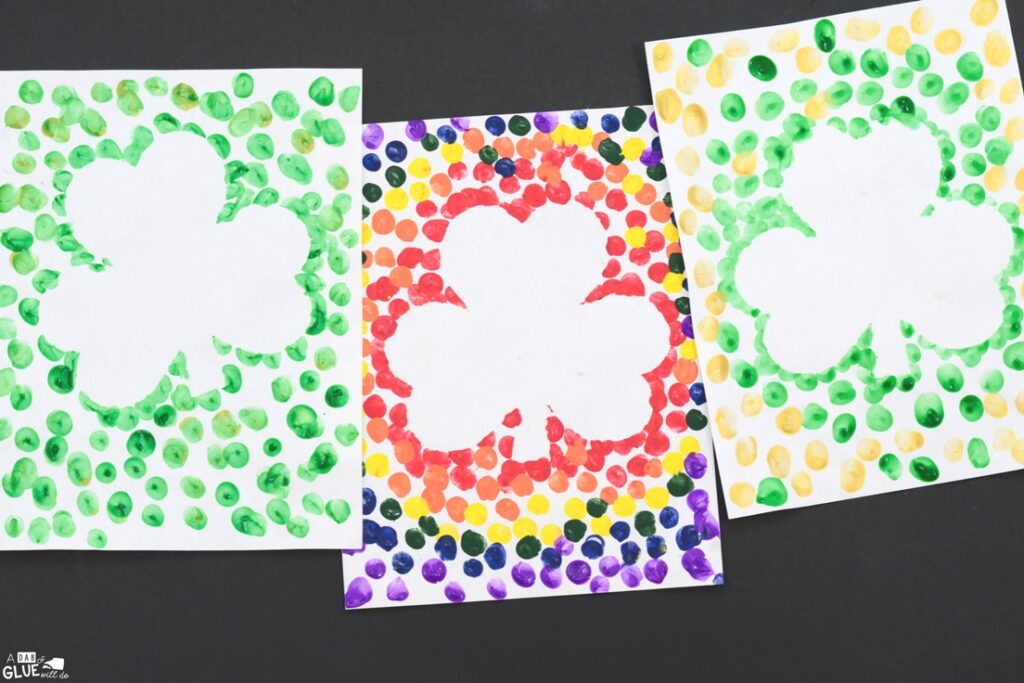
We tried green, green and gold, and a rainbow of colors and I love them all!
Need more St. Patrick’s Day Ideas?
St. Patrick’s Day Handprint Rainbow
St. Patrick’s Day Bingo Sheets
You might also like St. Patrick’s Day Match- Ups
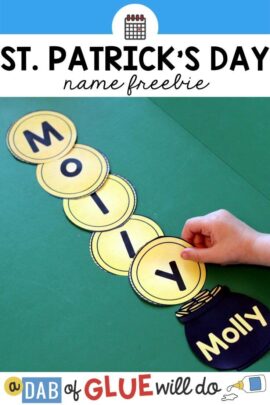
Download your Shamrock Thumbprint Art Template below!
Click the picture below to download. You will immediately be redirected to the freebie.

I hope that you and your students enjoy this Shamrock Thumbprint Craft!

Hi my loved one! I wish to say that this article is awesome, great written and include approximately all significant infos. I would like to look more posts like this .