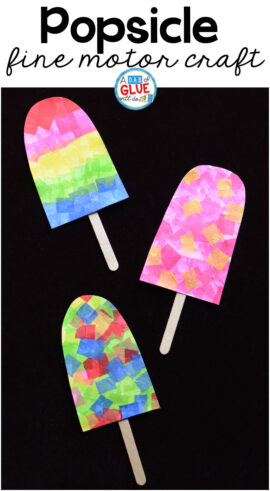
One of the first things my kids think about as soon as the weather warms up is popsicle! So we just couldn’t help but make this fun, colorful popsicle fine motor craft. There is a lot of fine motor work involved in pulling, grasping, and sticking the brightly colored tissue paper squares onto the paper.

Use these to decorate a bulletin board, string them onto yarn for a colorful garland, or attach magnets to the back to brighten up the fridge! There’s so many ways to use them.
Materials Needed for this Colorful Popsicle Fine Motor Craft:
- Card Stock
- Crayon or permanent marker
- Tissue Paper, cut into 1/2 inch – 2 inch squares (larger squares for younger children)
- Glue
- Paintbrush
- Plate or bowl
- Popsicle stick
**Be sure to cut larger squares for younger children. This way the craft won’t take as long for little ones with short attention spans.
Getting the Tissue Paper Popsicle Craft Ready:
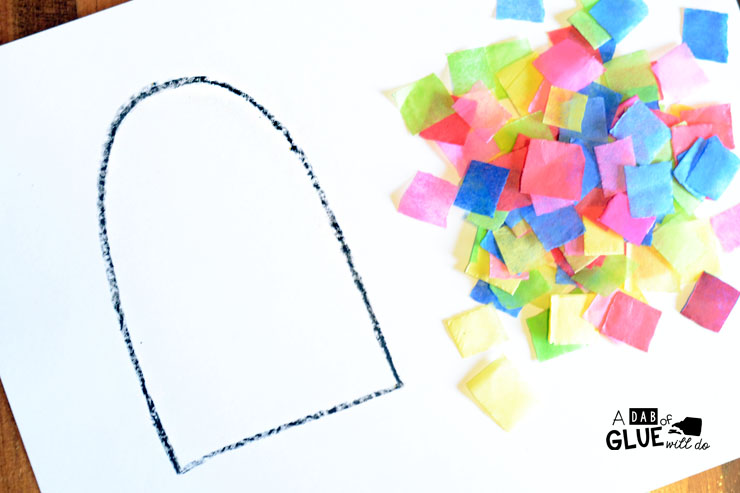
To get this craft ready, I pre-cut tissue paper into squares. I left the tissue paper stacked so I could cut many squares at a time.
I also drew a popsicle shape onto card stock using a crayon. A permanent marker can also be used, just avoid washable markers because the colors will bleed after glue is applied.
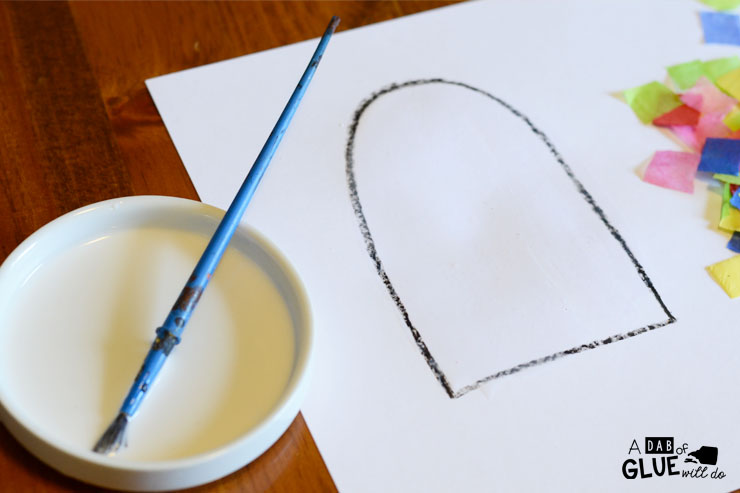
Add some glue to a plate or bowl with a paintbrush. If the glue is too thick to paint on, add a bit of water to make it runny like paper mache glue.
Doing the Colorful Popsicle Craft:
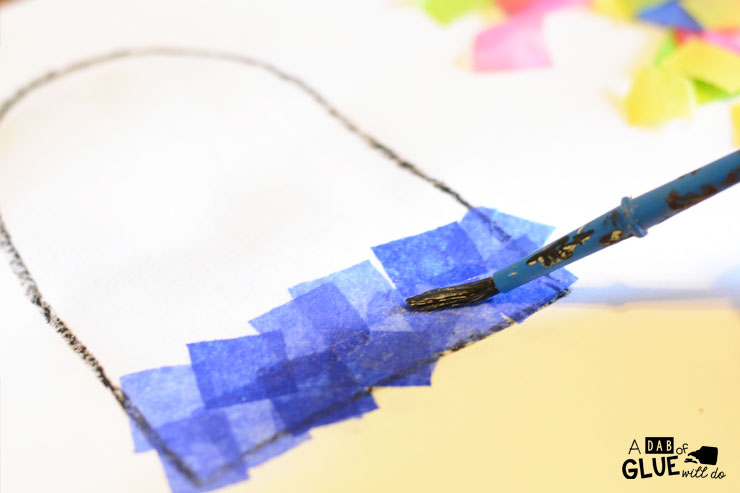
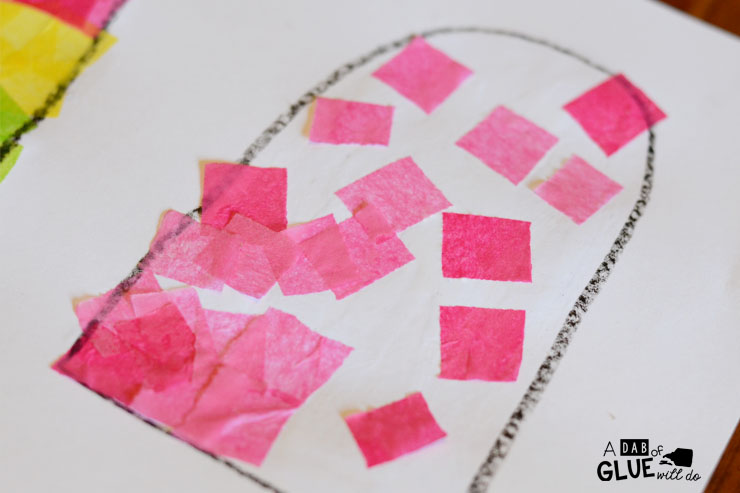
First, paint some glue onto the popsicle shape.
Begin adding tissue paper squares one at a time, overlapping them how you like.
After adding the squares, paint some glue over the top to make them stick down. This also helps the squares blend together.
Some kids may want to sort colors and work in rows.
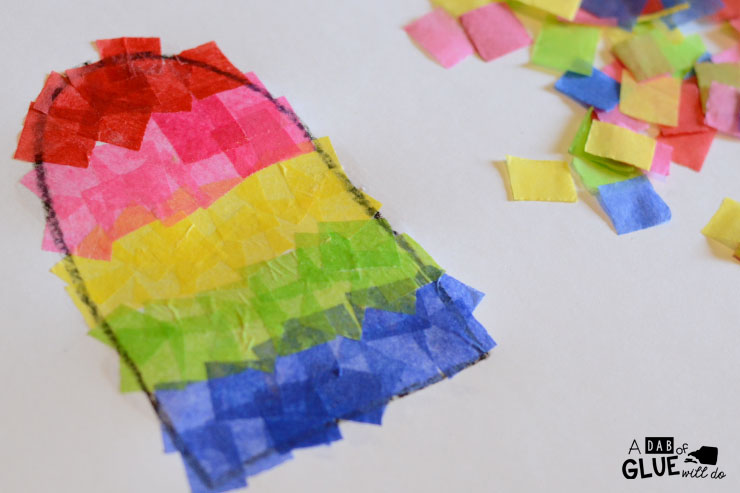
Others may want to use all one color.
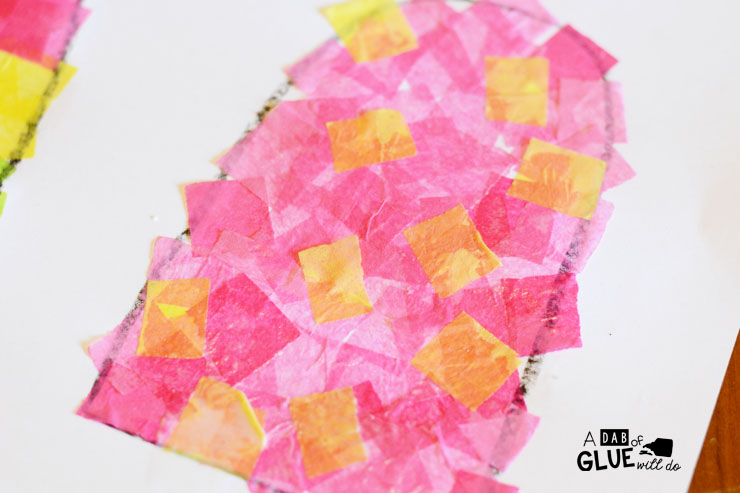
Or create their own “flavors”. Strawberry Lemonade Popsicle, anyone?
And others might like to add all of the colors everywhere!

Continue until the whole popsicle shape is covered – don’t worry about going outside of the lines.
Let dry completely.
When it is dry, cut out the popsicle and glue a popsicle stick to the back.
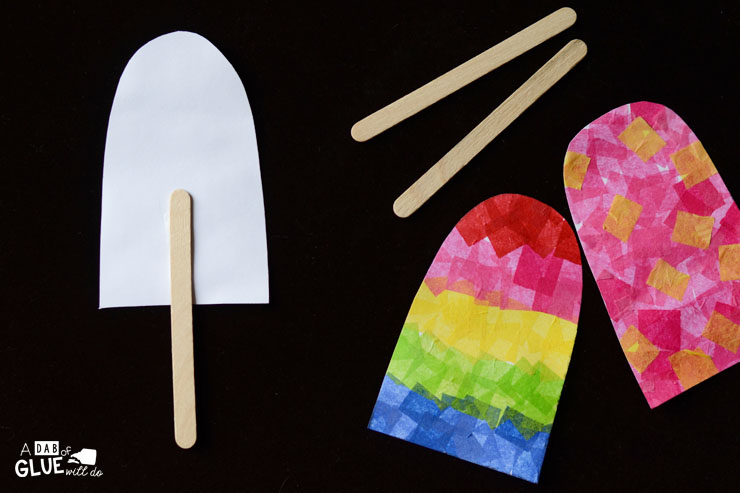
When it dries, the popsicle is complete!

What “flavor” will you make?
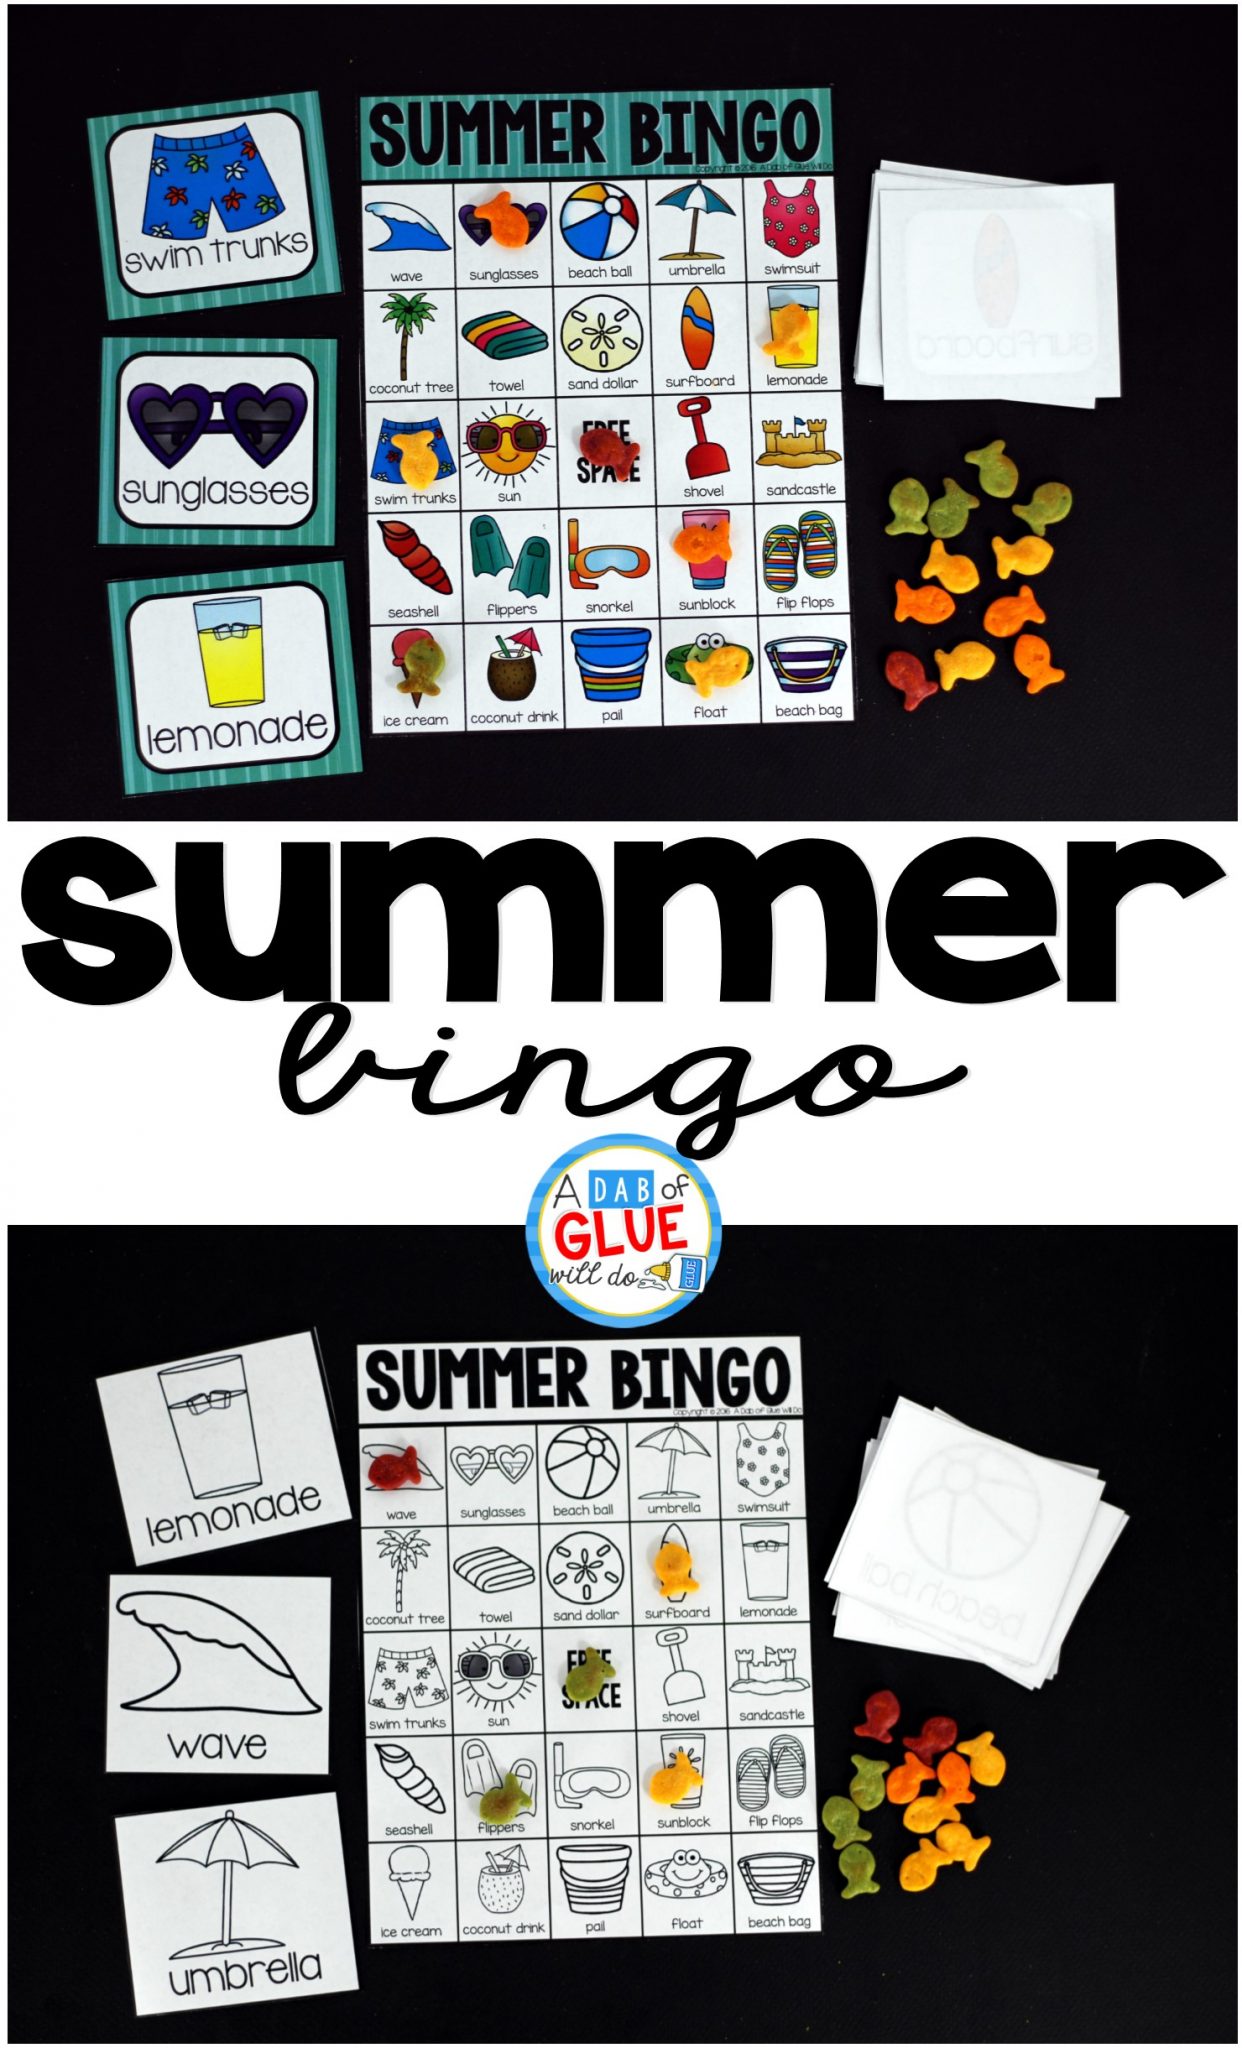
You might also like Summer Bingo!
Need More Summer Ideas?

What a fun idea! These will make a great garland decoration for the classroom next Christmas, I can see some of my kiddos wanting to make a couple!
I cannot wait to try the fun popsicle craft with my class. I love the idea of using goldfish for the summer bingo! Jenn
Hi there! This post couldn’t be written any better! Reading through this post reminds me of my previous room mate! He always kept talking about this. I will forward this article to him. Pretty sure he will have a good read. Thank you for sharing!
I love this idea, but I have a question about the tissue paper. How did you color it before you cut it into little squares?
Hi Erica, we used different colored tissue paper. You can be creative and think of different patterns and designs you want to make in the popsicles. Glad you like it!