
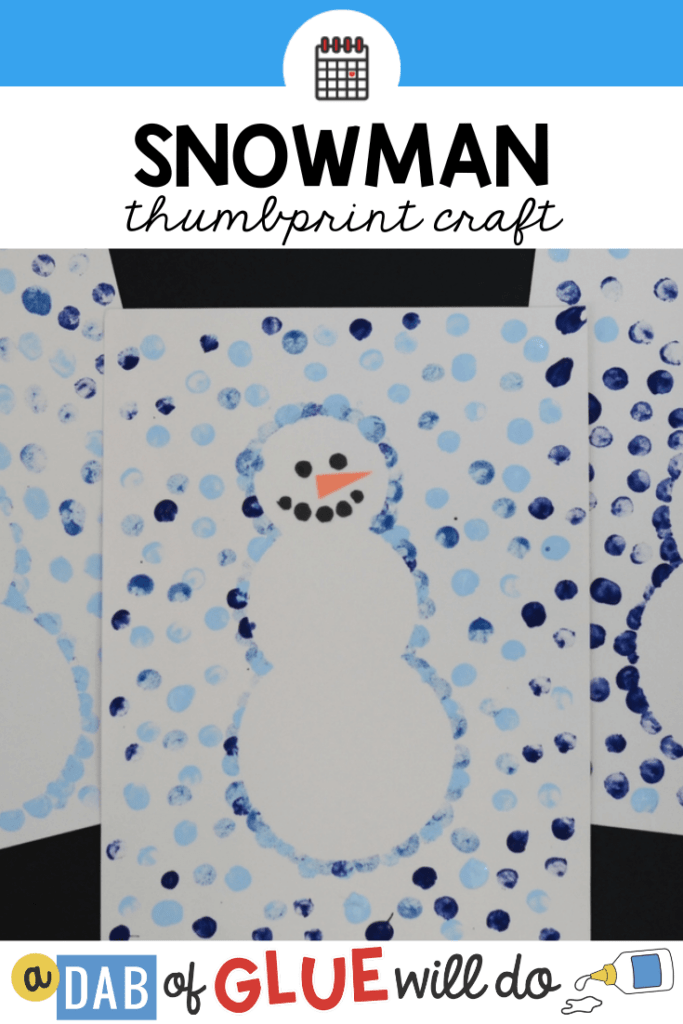
It’s officially winter! When I think of winter, I think of snowmen. Making a snowman is one of our favorite things to do every winter, so we thought we would make a craft version! This Snowman Thumbprint Art doesn’t take too much preparation to make a cute and personalized winter craft for kids.
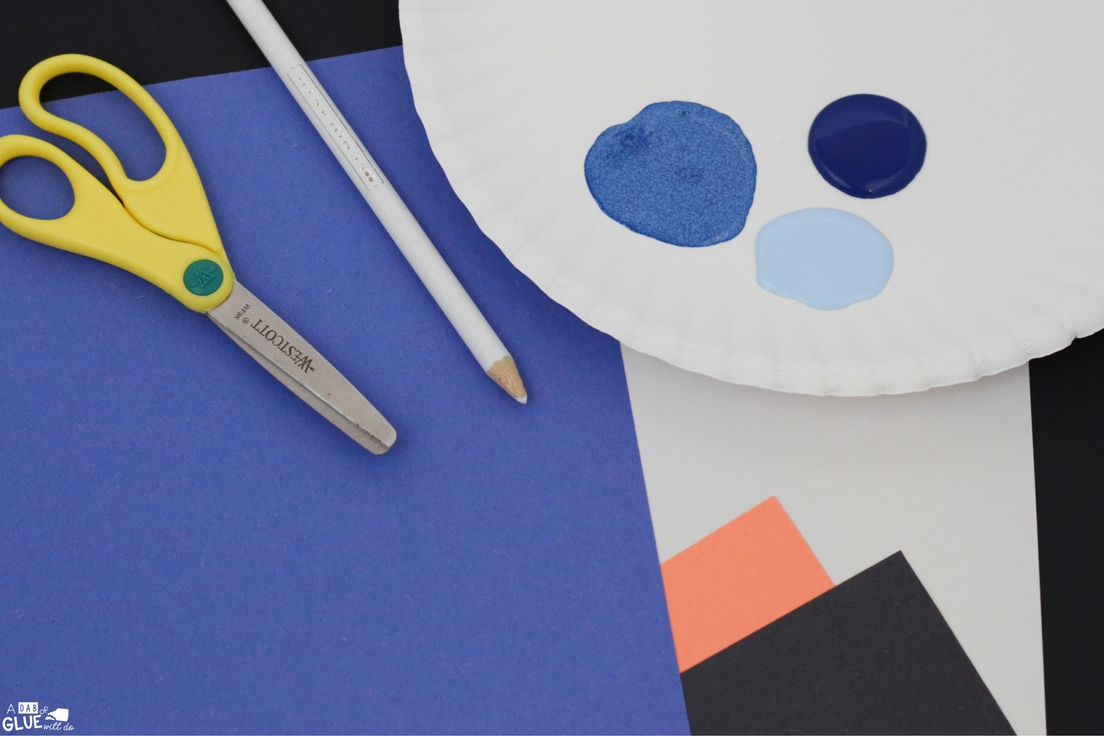
Materials Needed for the Snowman Thumbprint Art:
- White paper
- Colored paper
- Orange and black paper for the face (could also use markers)
- White colored pencil (or something to trace with)
- 3 round cups to trace in different sizes
- Scissors
- Masking tape
- Blue paint (a few different colors looks nice)
Getting the Snowman Thumbprint Art Ready:
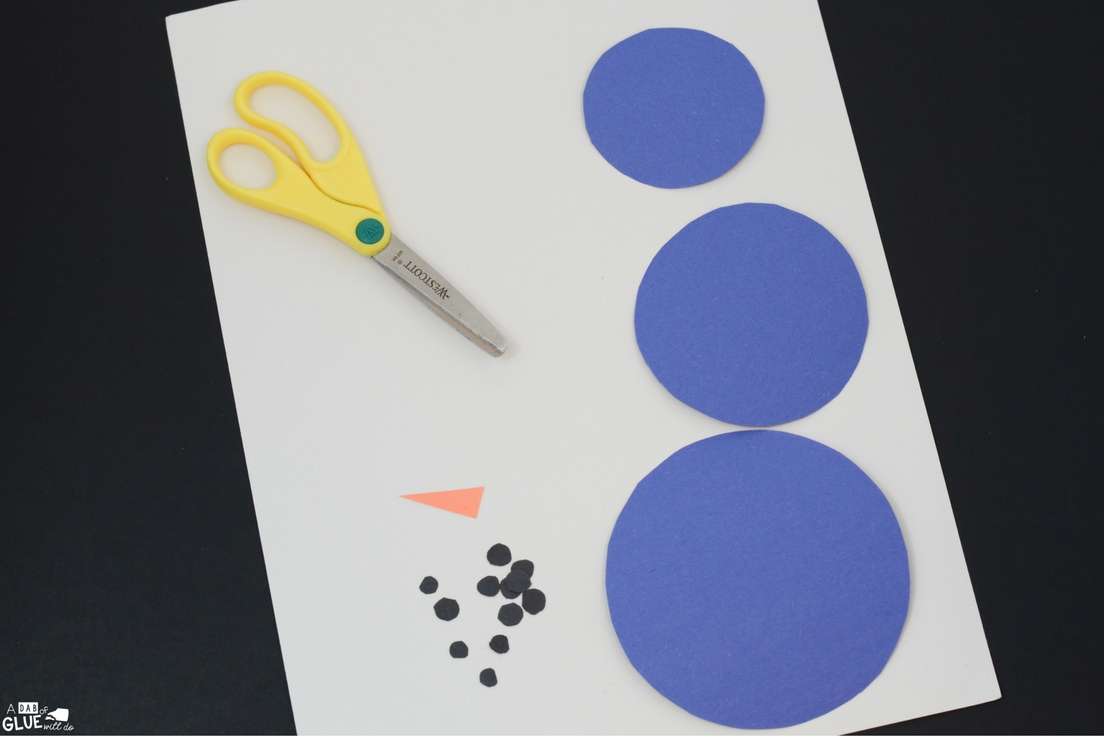
To prepare for this Snowman craft, I first made 3 circles from from the colored paper. To do this, I traced 3 different sized cups and pots to make circles for the body.

Next, I cut out the circles. I also used some black paper to cue out very small circular shapes to look like coal to use as the snowman’s eyes and mouth. I also cut out a small orange triangle for the carrot nose.
After the Snowman shapes are cut, it’s time to do the craft with the kids!
Doing the Snowman Thumbprint Art :
The student will start by taping each of the three circles down where they would like it on the paper, stacking them to look like a snowman. We used pieces of rolled tape to hold down the circles. Doubled-sided tape would work well too.
Now it’s time to start painting! Dip one finger into the paint and start making thumbprints or fingerprints.
Be sure to do fingerprints all along the edge of the shape first. This will make the outline of the snowman show up.
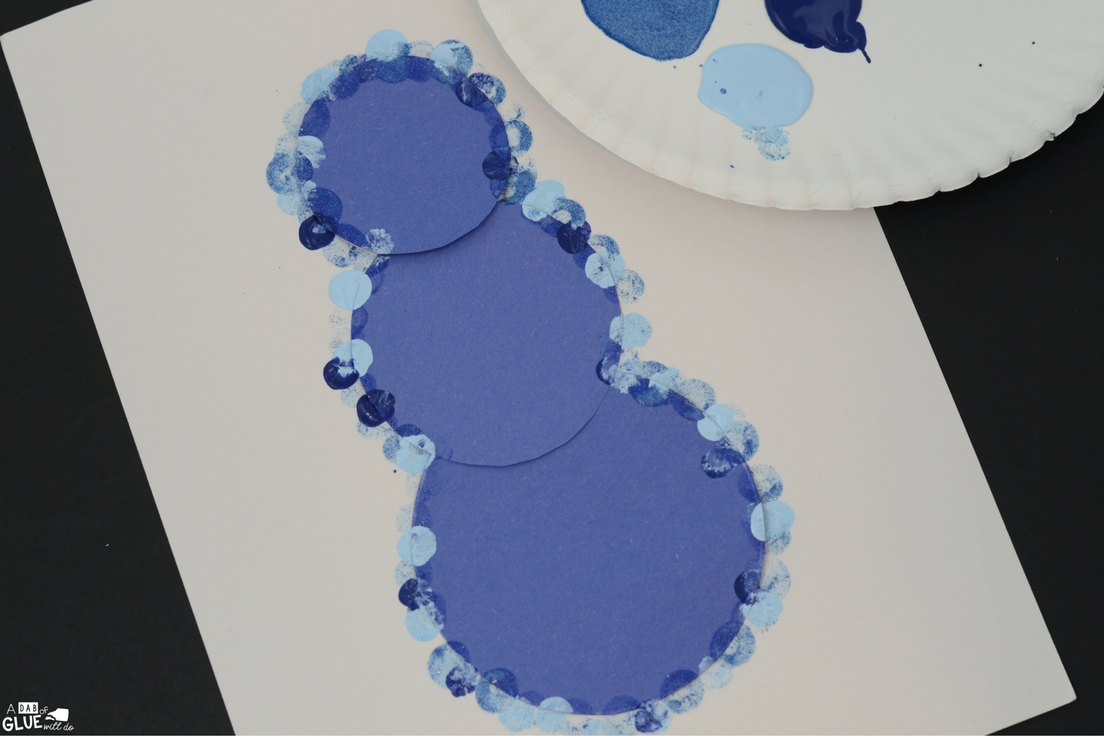
After making fingerprint along the edge of the snowman shape, start making scattered fingerprints all around the paper. It’s fun to try a few different colors of blue, but this still looks great using one color. We think the scattered fingerprints look like snowflakes!
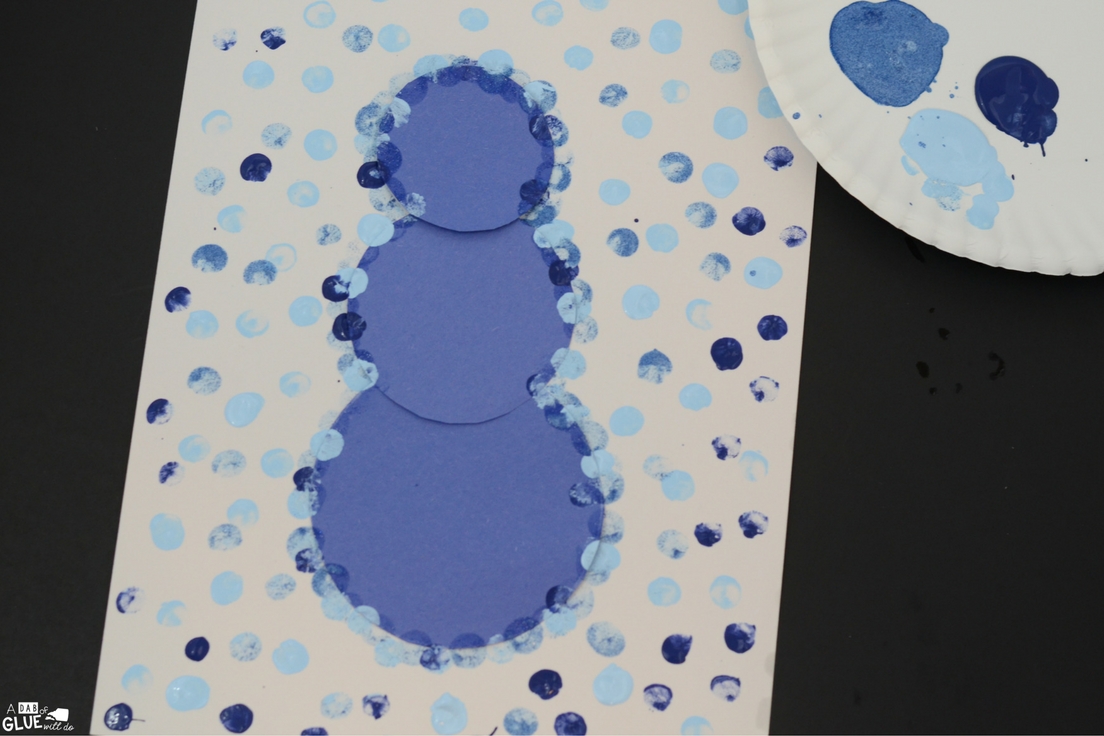
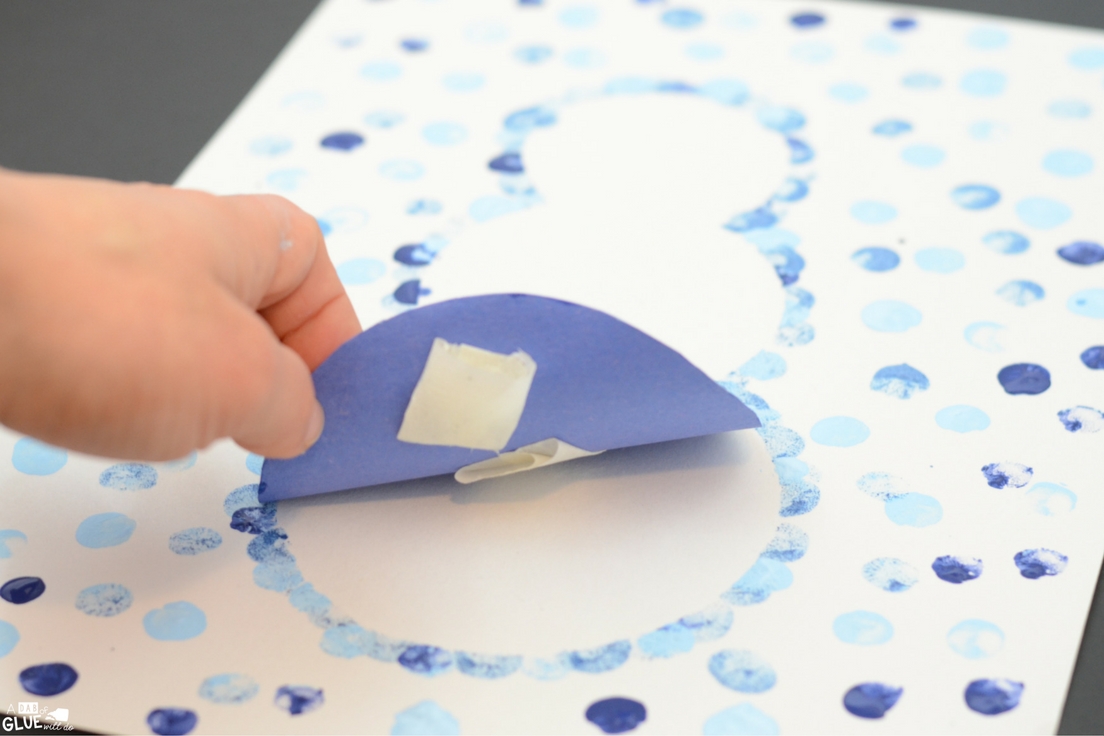
After you’re finished making fingerprints all around the paper, it’s time to peel up the shape to reveal your the snowman! This is the fun part. Slowly peel up the colored paper circles, being careful not to tear the paper.
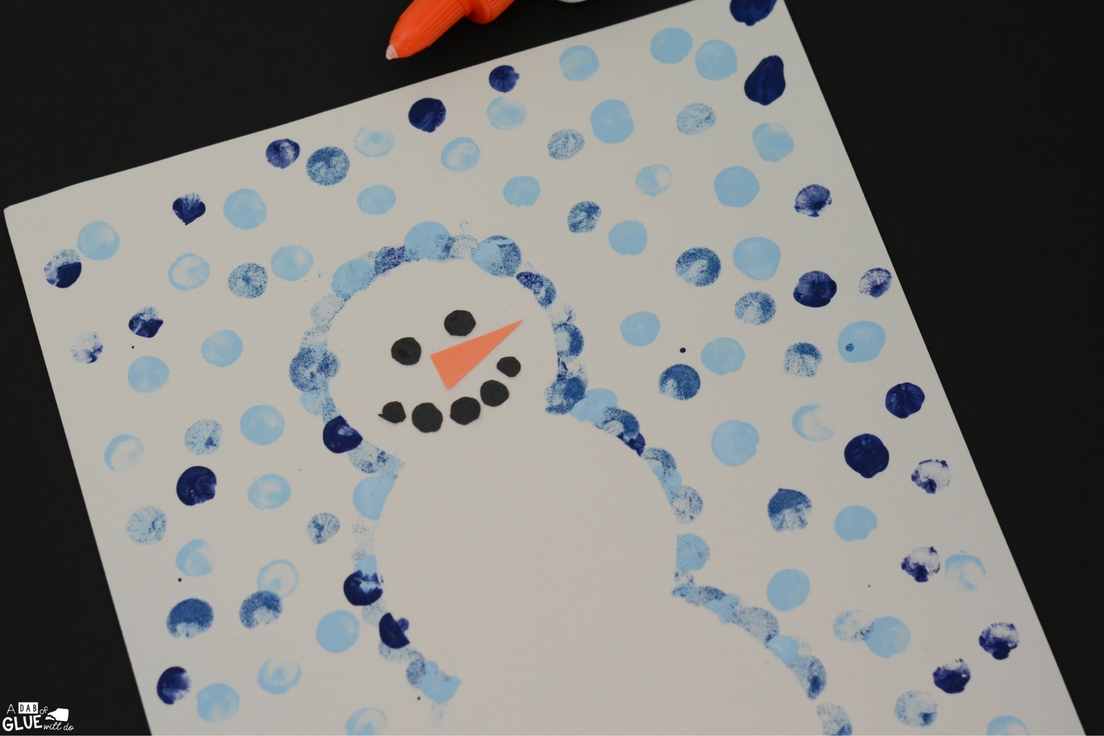
Now it’s time to make a cute snowman face. We used small black paper circles as “coal” for the eyes and mouth, and an orange paper triangle for the carrot nose. You can also draw the face on with markers.
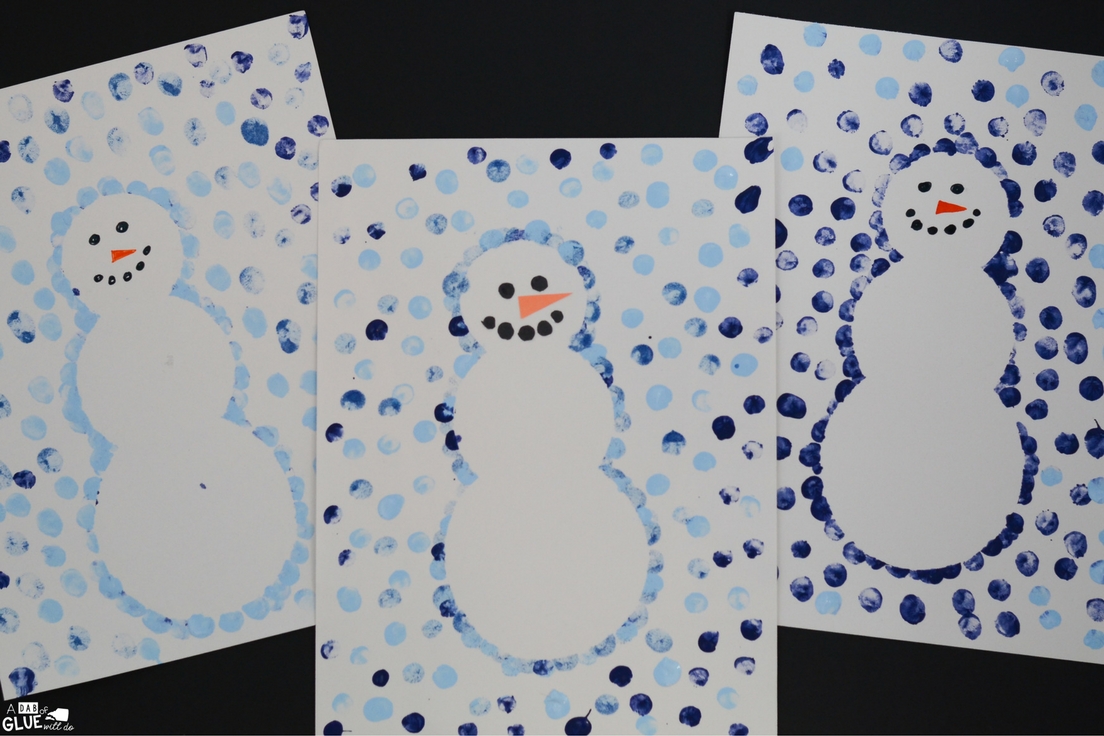
Now your snowman thumbprint art is complete! How cute?!
Need more winter craft ideas?
Snowman Number Match Printable
You might also like this!
Check Out This Resource From My Shop!

Snowman Match-Ups Bundle
Original price was: $18.00.$9.00Current price is: $9.00.

This is so cute! I was just thinking…why not put the paper on a cookie sheet (not aluminum) and use magnetic shapes instead of the construction paper/tape?
Hi there, I found your web site by means of Google while searching for a comparable topic, your web site got here up, it appears to be like good. I’ve bookmarked it in my google bookmarks.