

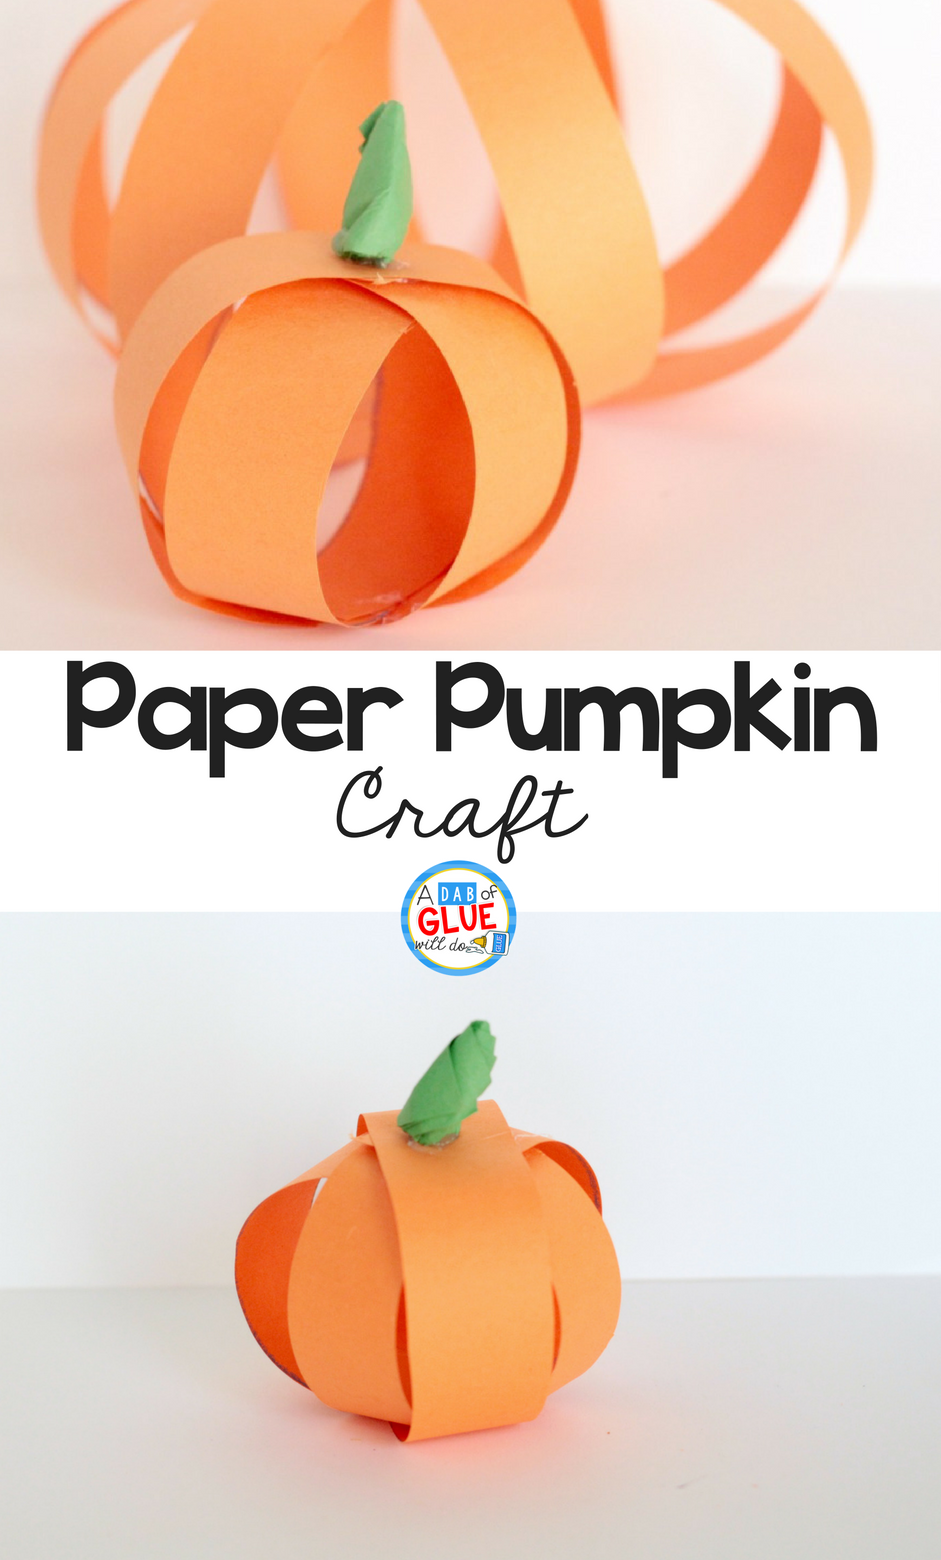
I love bringing my love of all things pumpkin to the classroom. There are tons of pumpkin crafts, but some are too complicated and some get a little old. This paper strip pumpkin craft, however, is different. It’s easy enough for kids to do mainly on their own, uses just a few supplies, and is totally classroom-friendly.
Pumpkin season is one of my favorite times of the year. I have been known to sip on a Pumpkin Spice Latte the day they are available to buy in store, and I may or may not have a hidden stash of pumpkin spice at home that I use even during the spring and summer. Once cool weather strikes, I am all in. That’s why I adore this fun craft for your little learners.
Getting the Paper Strip Pumpkin Craft Ready
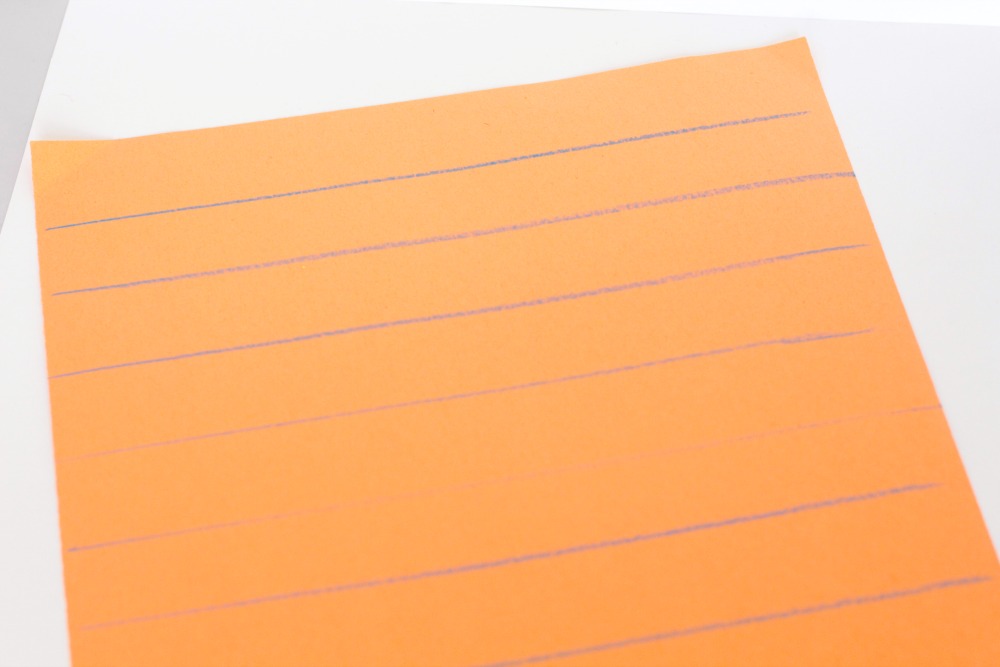
If your kids aren’t good with scissors yet, you can cut out the strips of paper in advance. Otherwise, all you have to do in advance is mark 1-inch stripes onto your orange paper and you’re good to go!
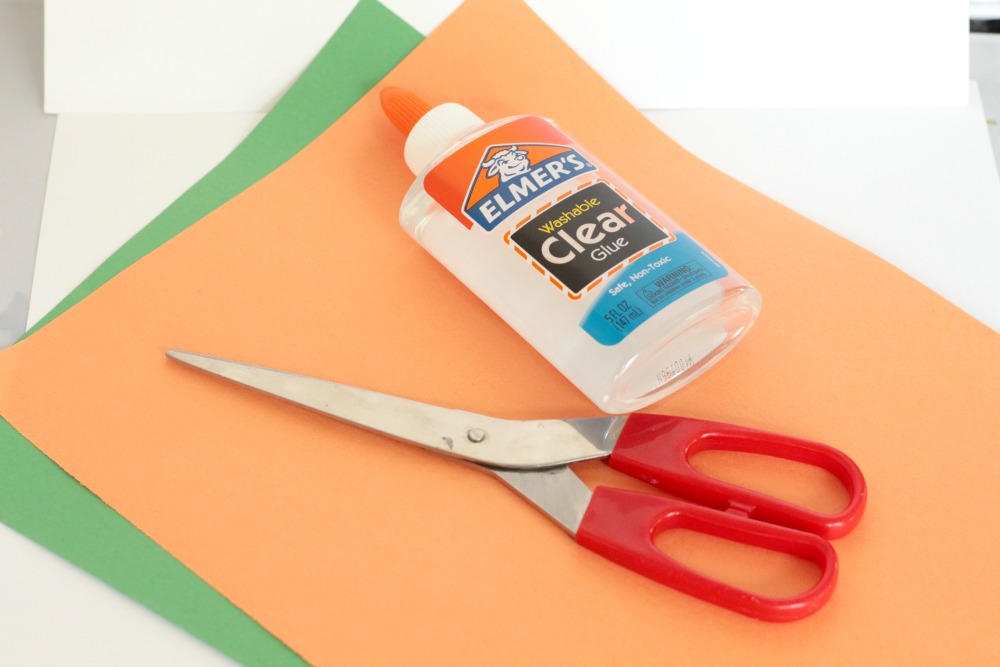
Supplies
Doing the Paper Strip Pumpkin Craft
Mark off 1-inch strips of paper on the orange paper width wise if you want a small pumpkin or lengthwise if you want a bigger pumpkin. It takes 4 strips of paper per pumpkin.
Form the strip into a circle and glue the ends together.
Wrap a second strip crosswise from the first, to make a sort of 3D X shape and glue in place.
Wrap the other two strips around the open part of the circle, covering up any large openings.
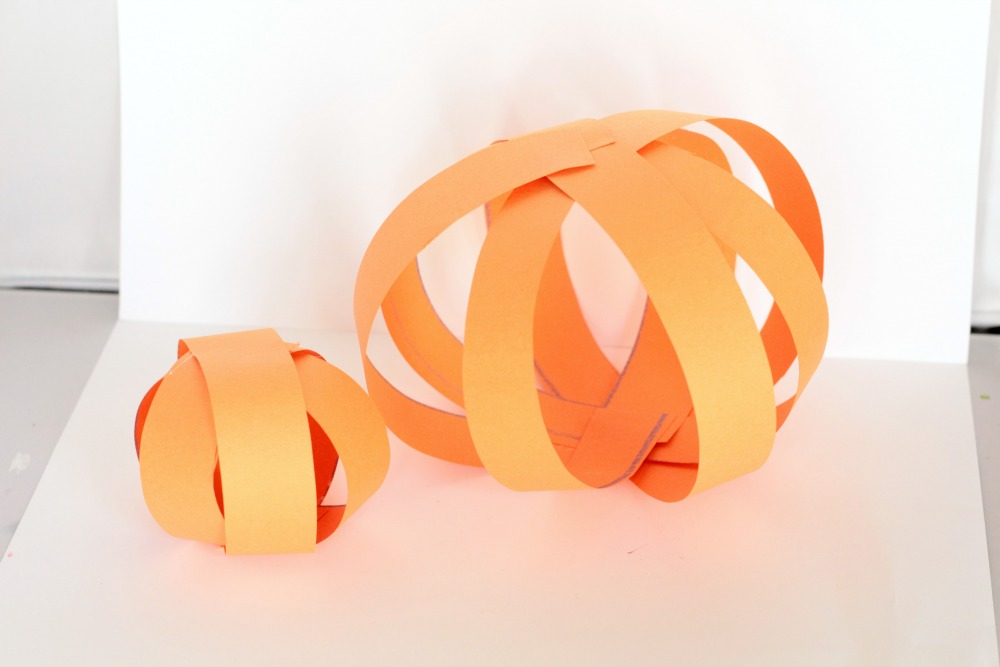
At this point, the pumpkin should stand on its own.
Twist a piece of green paper into a stem shape and glue to the top of the pumpkin.
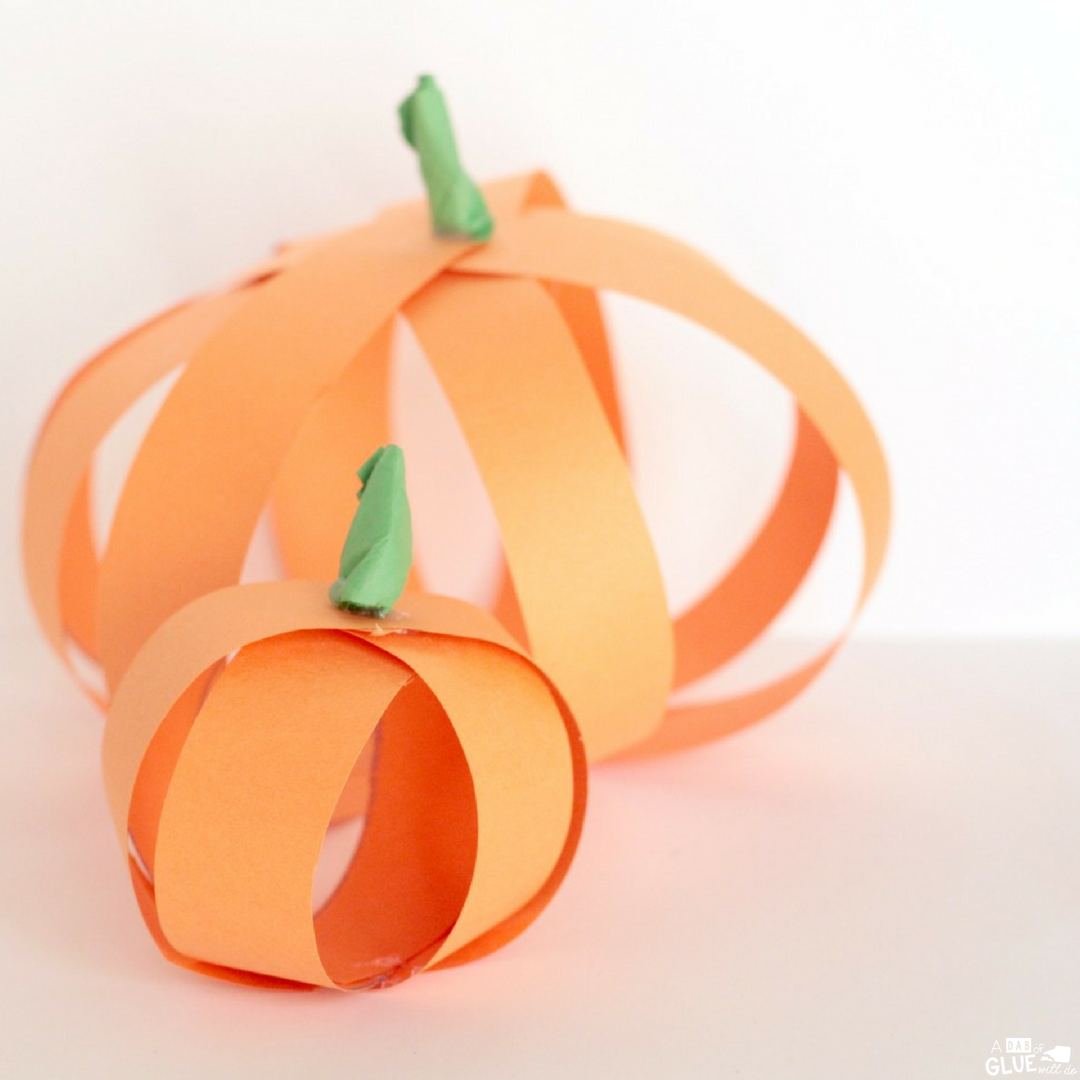
If you like, you can add a leaf, but we left ours simple.
Need more great pumpkin ideas?
12 Pumpkin Books for Little Learners
You might also like Pumpkin Math and Literacy Centers!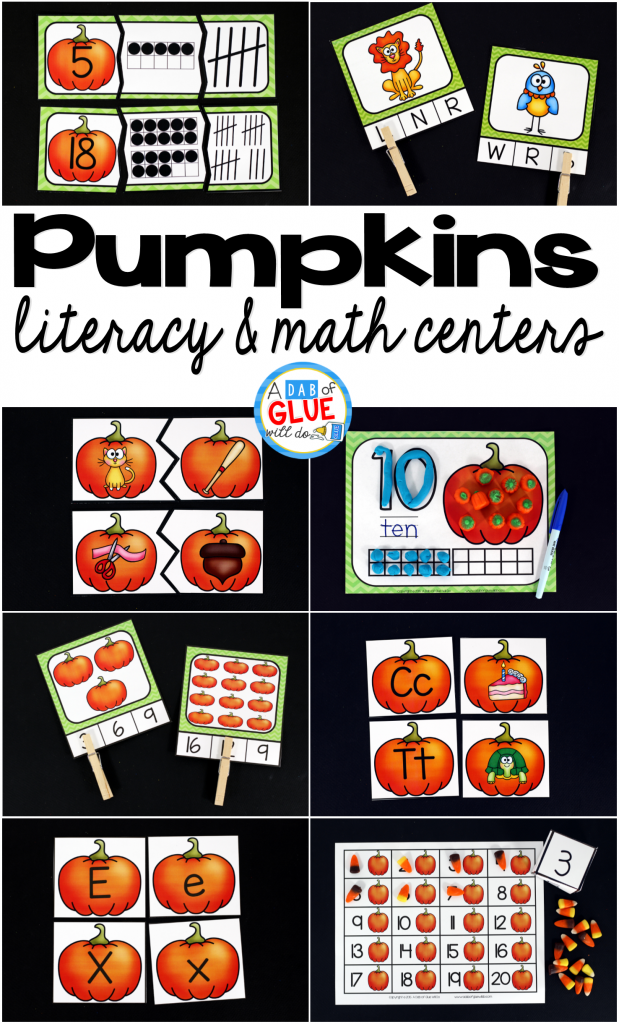
I am continually searching online for posts that can aid me. Thanks!