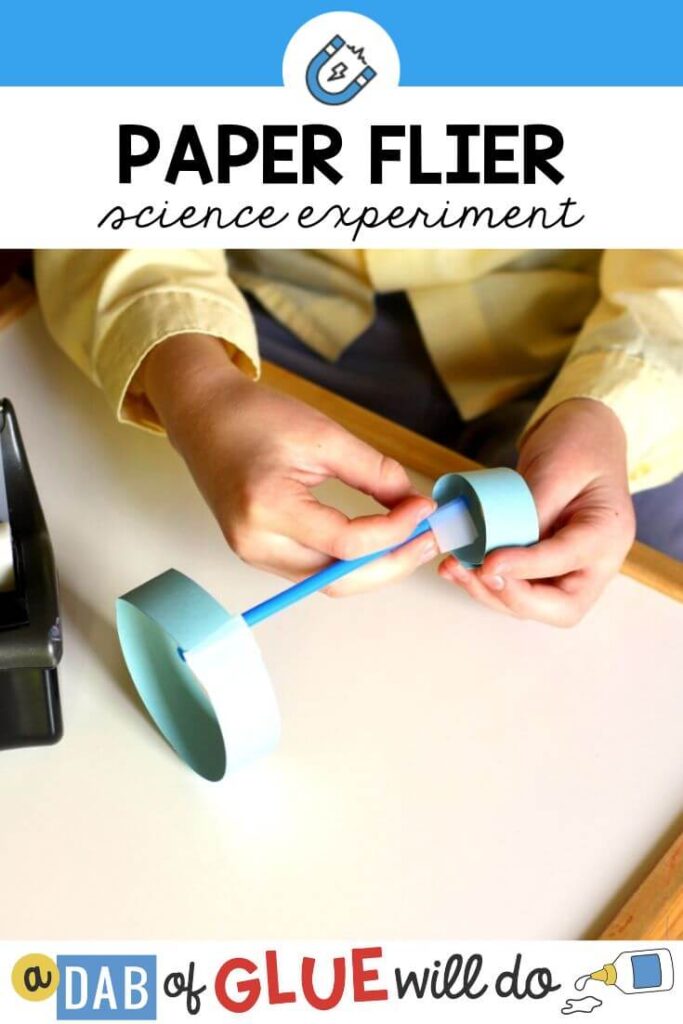
Construct a DIY airplane for kids using two rectangles of paper and a straw. It doesn’t get any easier than that! Find out how far a straw and paper airplane can glide and modify it to see if you can improve the design by doing this fun STEM activity for kids.
My son has always loved making and flying paper airplanes. You could say he’s kind of a pro at it by now.
When I introduced the idea to him of making a new kind of paper airplane using a straw he was excited to give it a try. He was a little bit skeptical that it would work since it doesn’t have wings and it doesn’t look like a regular airplane, but once we made one and he saw how well it flew he was hooked!
This is a fun and exciting hands-on STEM activity that would be perfect at home or in the classroom to compliment a lesson about airplanes, lift, thrust, aerodynamics, forces, physics, or any number of other subjects!
Getting the DIY Airplane for Kids Ready
We gathered the following supplies to begin:
- Piece of Cardstock
- Drinking Straw
- Scissors
- Tape
- Ruler
My son chose which color of drinking straw and which color paper he wanted to use. He cut off the flexible neck of the drinking straw and then we were ready to assemble his straw and paper airplane.
DIY Airplane for Kids
I instructed him to cut out two strips of paper, the first one measuring 1 inch by 10 inches and the second one measuring 1 inch by 5 inches. This was wonderful measuring and math practice for him.

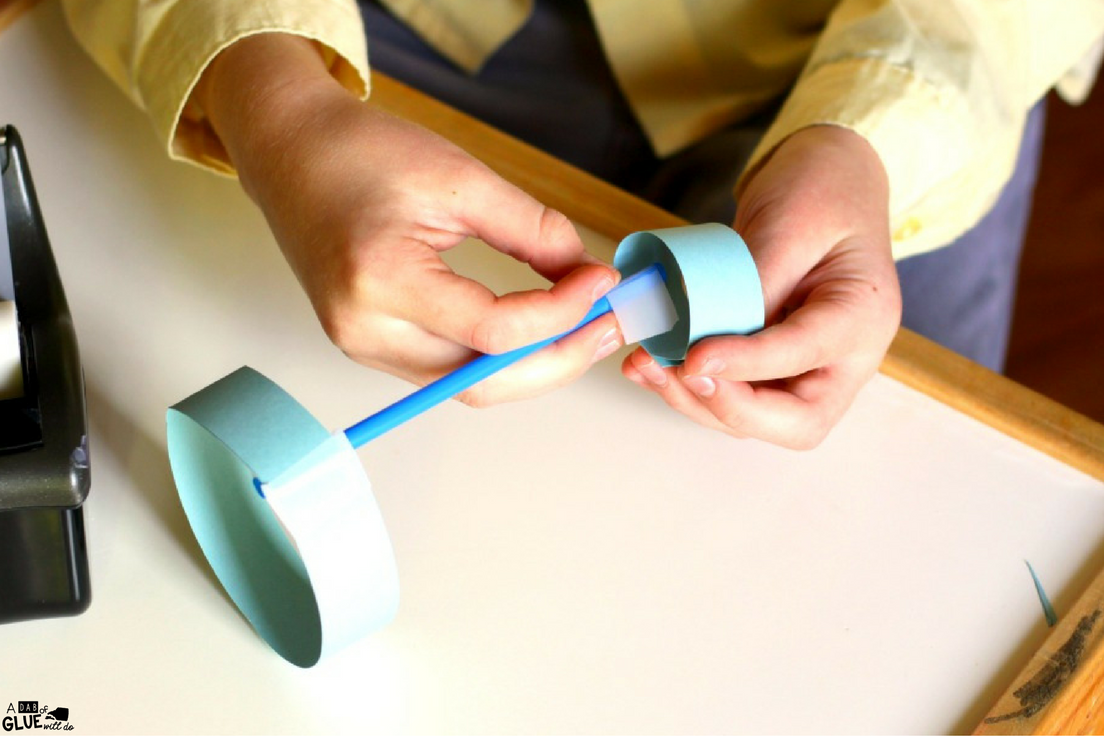
Once he had both strips cut out he used tape to attach the two ends of the first strip of paper together to form a circle. Then he did the same with the second strip of paper.

He used more tape to attach each paper circle to the straw. For our first try, we put the small circle on one end of the straw and the large circle on the other end.
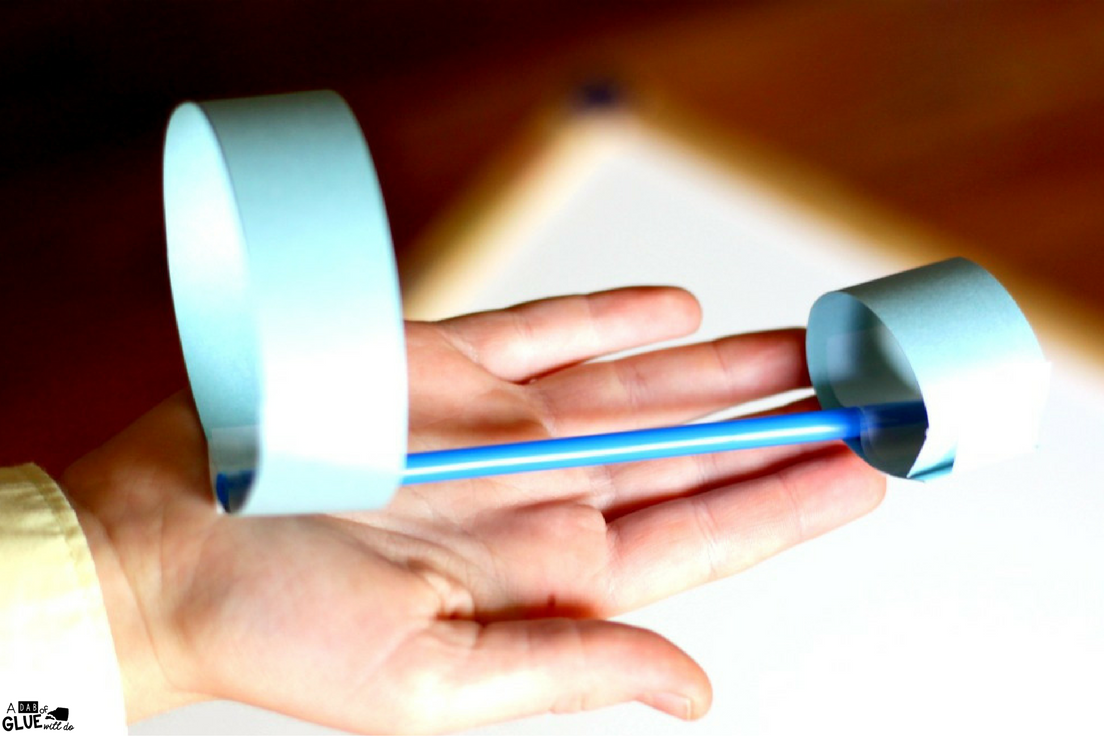
Next came the fun part!
He threw the flier just as he would throw a regular paper airplane. He was amazed to see how well it flew and how far it went!

Once we had the basic design down he experimented to see how he could improve it. He cut the strips of paper into different sizes, attached them to different positions on the straw, and added more paper circles to the straw to see how that affected the distance the straw and paper airplane flew.
He also experimented to see if the plane flew further if he launched it with the big circle in front or the little circle in front. We both had a blast and learned so much together!
The Science Behind the DIY Airplane for Kids
There are four forces that affect how objects fly: thrust, drag, lift, and gravity.
Thrust is the force that moves the airplane forward. When launching a straw and paper airplane, thrust is provided by a person throwing it forward.
The force in opposition to thrust is drag. Sometimes referred to as air resistance, drag slows the airplane down as air pushes against the airplane.
Lift is the force that keeps the airplane up. Air moves through both the straw and the paper circles to enable the straw and paper airplane to fly. They act similar to the wings of a paper airplane by providing lift.
Gravity is the force that acts in opposition to lift. As the airplane slows down because of drag, there is less air moving through the straw and paper to provide lift. As the airplane slows down, the force of gravity pulls it back down to the ground.
Making a straw and paper airplane is a really fun and educational STEM activity that teaches kids all about the forces that keep objects like airplanes and birds flying through the air!
More STEM Ideas?
Walking Water
Science Notebook
Want science planned for you ALL YEAR LONG?!
Do you want science planned for the ENTIRE CALENDAR YEAR!? This Endless Science Mega Bundle will save you so much time and keep your students engaged and excited about learning. This amazing resource contains 53 science topics including life science, physical science, earth science, and animal studies.

Leave a Comment