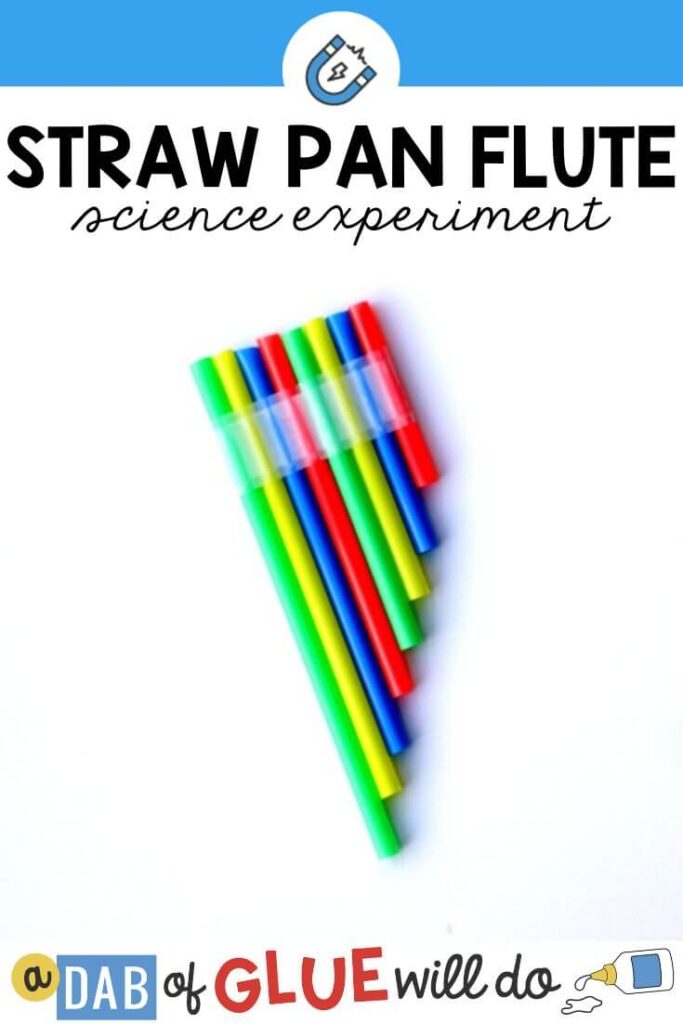
Make an easy straw pan flute using a few drinking straws and tape. This is the perfect activity to accompany a lesson on the science of sound, our five senses, or music. Simply blow air through the straws and discover what melodies can be created!
This is such a simple science activity, yet it teaches kids so much! They get measuring and math practice as they trim the straws, plus cutting and taping the straw pan flute together is wonderful fine motor practice.
Once the straw pan flute is completed kids can play, experiment, and learn how to vary the pitch of the flute. It’s a great hands-on way to teach about how sound is created!
Getting the Straw Pan Flute Ready
Before inviting the kids over I gathered the follow simple supplies:
- Drinking Straws
- Ruler
- Scissors
- Tape
First I cut the flexible tips off the straws. In the past I found that the pan flutes get a little bit wonky if the kids fiddle with the accordion necks so I just cut them off now!
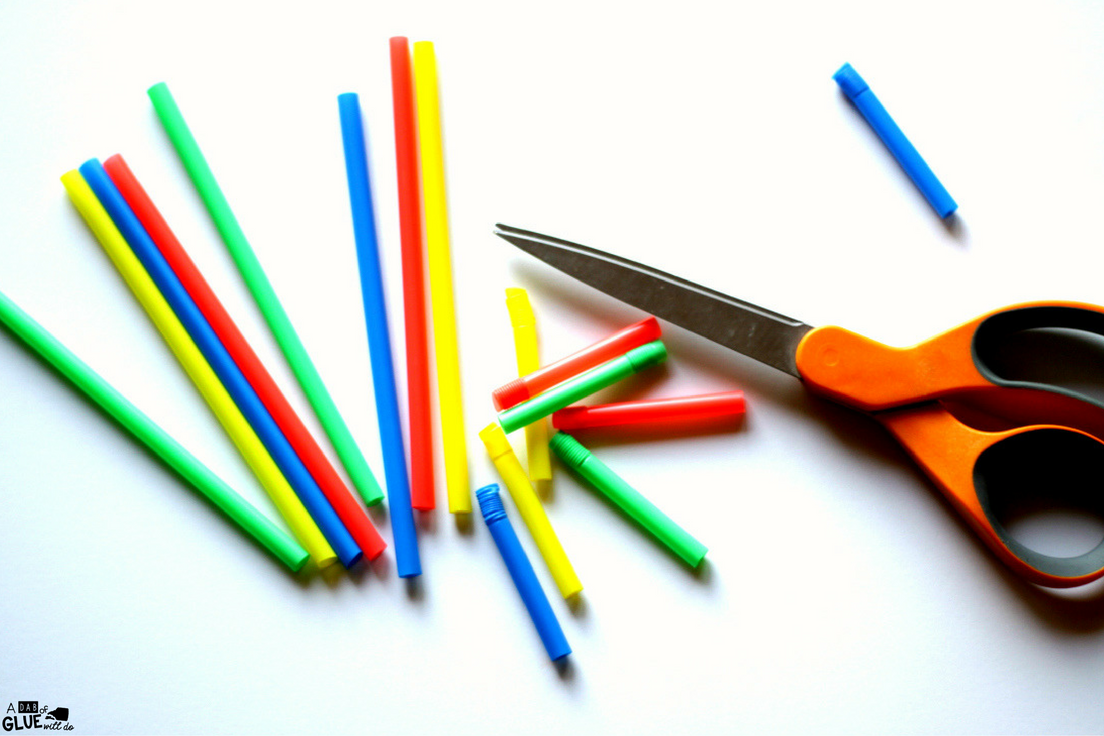
If your straws don’t have flexible ends then you don’t need to worry about this step.
Once all the flexible ends were cut off we were ready to begin!
Assembling the Straw Pan Flute
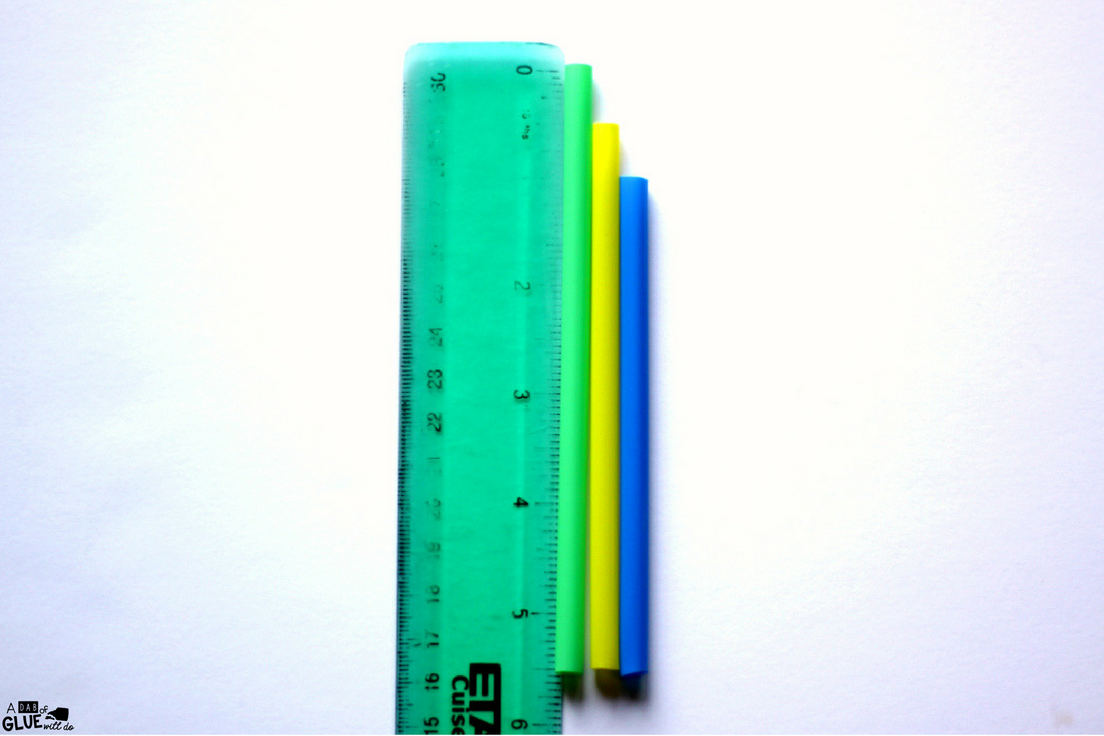
I passed out 8 drinking straws to each child. They had a ruler and a pair of scissors ready to go.
The kids were instructed to leave the first straw alone and then to trim ½ inch from the second straw.
They trimmed 1 inch from the third straw, 1 ½ inches form the fourth straw, and so on, cutting an additional ½ inch from each successive straw.
Once they were done cutting the straws they lined the straws up from biggest to smallest. I showed them how to use the straight edge of the ruler to arrange the tops of the straws flush in a line.
Each child used 4-5 inches of tape to secure the straws together. While the straws were lined up they put the tape right over the top of the flute, across each straw. At that point it was easy to wrap the tape around the flute and secure all of the straws together.
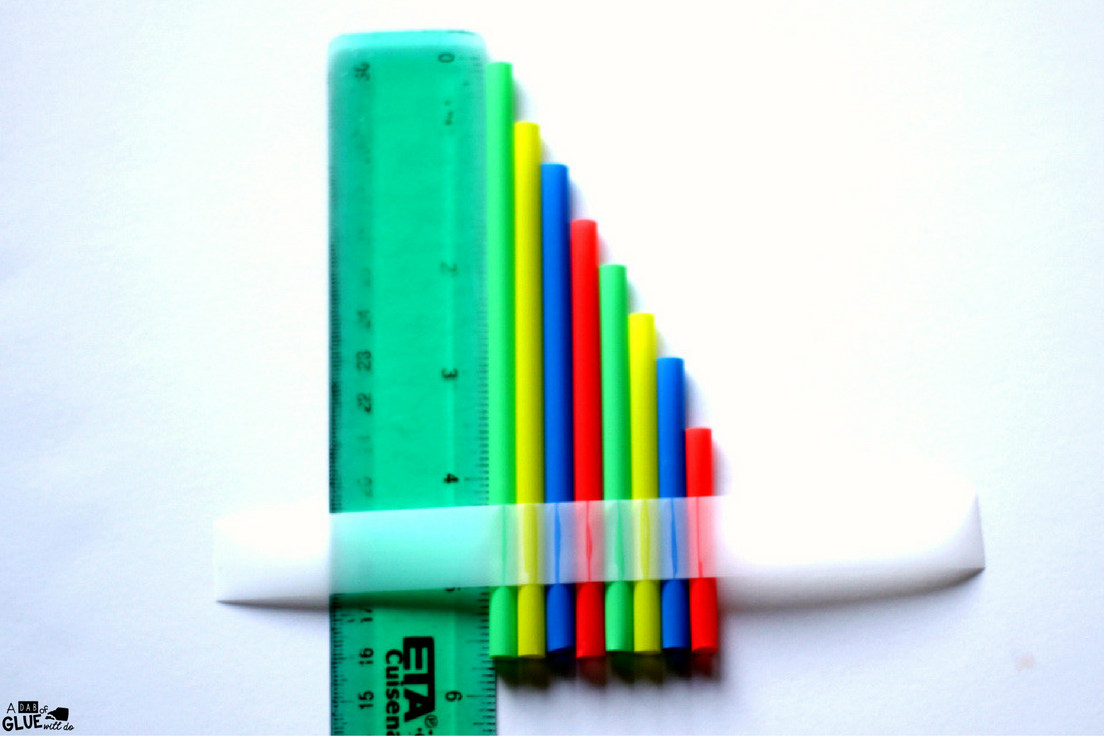
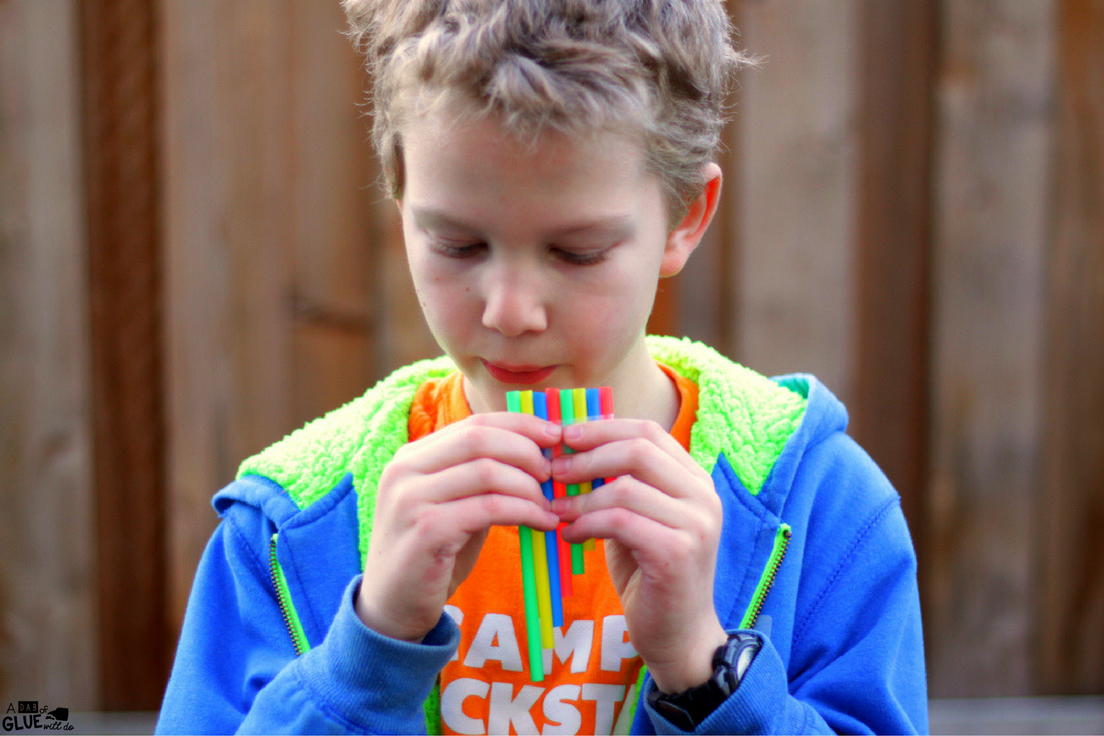
Voila! The kids each had a simple straw pan flute!
The kids had fun blowing into each straw and listening to the pitch that was produced. It didn’t take them long to figure out that the shortest straw makes the highest sound while the longest straw produces the lowest sound.
I challenged them to try to play a simple melody like “Mary Had a Little Lamb” or “Twinkle, Twinkle Little Star”. It was so fun to experiment and figure it out!
The Science Behind Playing a Straw Pan Flute
Sound is simply vibrations that move through a medium that our brains interpret into noise we hear. In this case, sound is produced by the vibration of air blowing across the open holes of the straws.
Air blowing through a shorter straw moves quickly in one end and out the other. These vibrations move quickly and have a high frequency, which produces a high pitch.
Similarly, the same amount of air moving through a longer straw takes longer to come out the other end. These vibrations move more slowly, have a low frequency, and produce a low pitch.
Need More Craft Ideas?
Simple Science: Kid Made Chromatography
How to Make a Rainbow Yarn Butterfly Craft
You might also like Animal Alphabet Crafts

So cool! I’m pinning this to make with my girls later.
I hope that they loved it!!!
I can’t wait to do this with our Sunday School class tomorrow. Thank you for sharing.